How to Clean a Fan Without Taking It Apart: A Simple and Safer Method
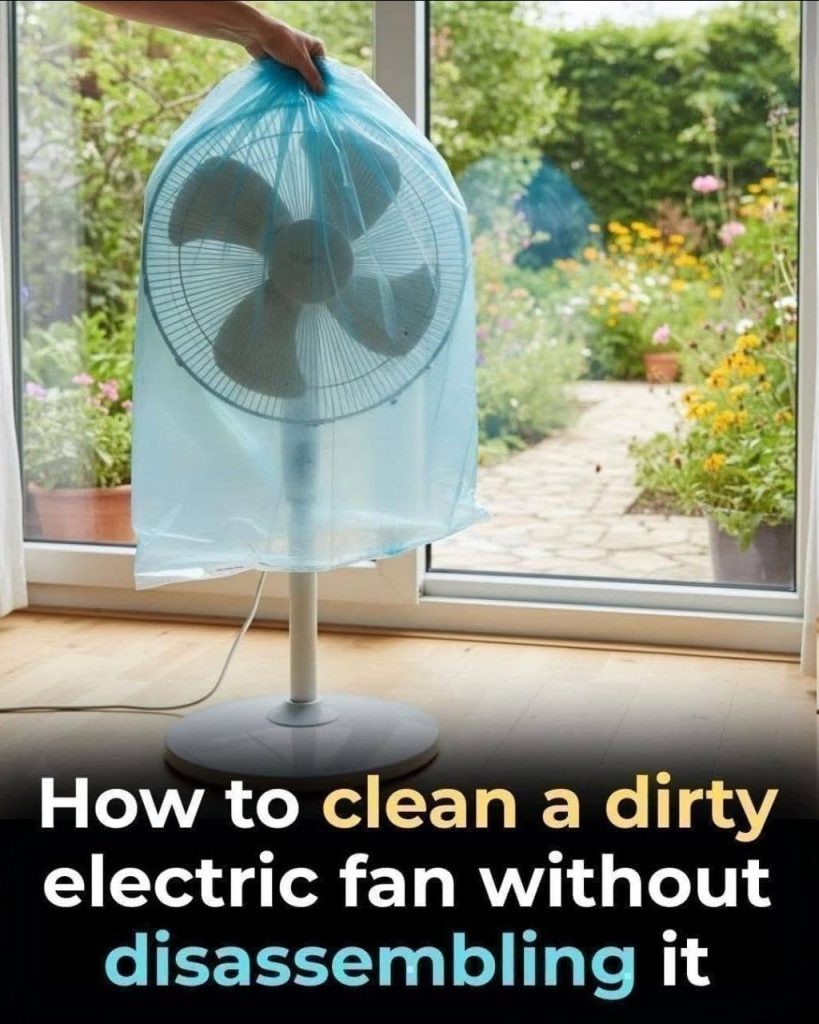
A fan can look perfectly fine from across the room while hiding a surprising amount of dust behind its grille. Over time, airborne particles, lint, pet hair, pollen, cooking residue, and ordinary household dust can collect on the protective grille and fan blades. Once that buildup becomes thick enough, the fan may move less air, look dirty, and blow accumulated dust back into the room whenever it is switched on.
Many people assume the only way to clean a fan properly is to remove screws, detach the grille, and take the appliance apart. Deep cleaning may sometimes require disassembly according to the manufacturer’s instructions, but light and moderate buildup can often be reduced without dismantling the fan.
The key is to clean carefully, keep moisture away from the motor and electrical components, and never operate the fan while it is wet or while anything is covering its ventilation openings.
If your fan is heavily clogged internally, has grease buildup around the motor, makes unusual noises, smells hot, sparks, or has damaged wiring, stop using it and follow the manufacturer’s service guidance rather than trying to solve the problem with a quick cleaning trick.
Why Fans Get Dirty So Quickly
A fan constantly moves air. That means it also moves everything suspended in that air.
Household dust contains a mixture of tiny fibers, skin particles, pollen, pet dander, soil particles, and other airborne debris. As air passes through the grille, some of these particles stick to the fan’s surfaces.
The leading edges of the blades can accumulate particularly noticeable layers because they repeatedly encounter airborne dust while rotating.
In kitchens, the problem may be worse because microscopic grease particles can settle on the fan. Once grease coats the surface, additional dust sticks more easily and becomes harder to remove with dry wiping alone.
Why Regular Fan Cleaning Matters
Cleaning is not only about appearance. A heavily coated fan can become less pleasant and potentially less efficient to use.
Regular cleaning can help reduce visible dust buildup, keep grille openings clearer, maintain better airflow, prevent loose dust from blowing around the room, reduce stubborn grime that develops over time, make future cleaning easier, and keep the appliance looking better.
A clean fan will not replace proper indoor air filtration, but removing accumulated dust from the appliance prevents the fan itself from becoming another reservoir of debris.
Before You Start: Unplug the Fan
This is the most important step.
Turn the fan off and disconnect it from the electrical outlet before touching the blades, grille, motor housing, controls, or power cord.
Do not rely only on the power button. An unplugged appliance provides an additional level of protection while you are reaching through grille openings or wiping near moving parts.
If the fan is battery-powered or rechargeable, follow the manufacturer’s instructions for safely disabling or cleaning it.
Never Clean a Fan While It Is Running
Do not try to hold a cloth, brush, ruler, cotton swab, or other object against rotating blades.
A spinning fan can pull objects inward, damage the blades, injure fingers, or stress the motor.
All manual cleaning should be performed with the fan completely switched off and disconnected from power.
What You Will Need
- One or two clean microfiber cloths
- A soft cleaning brush
- An old extra-soft toothbrush
- A small bowl of lukewarm water
- A few drops of mild dish soap
- A dry microfiber cloth for finishing
- A vacuum with a soft brush attachment, if available
- A thin blunt tool such as a ruler or spatula, only if it can safely reach through the grille
White vinegar is sometimes included in homemade fan-cleaning mixtures, but it is not necessary for routine cleaning. Mild soap and water are often sufficient for ordinary grime, and avoiding unnecessary liquids around electrical appliances is the safer approach.
Start With Dry Cleaning First
